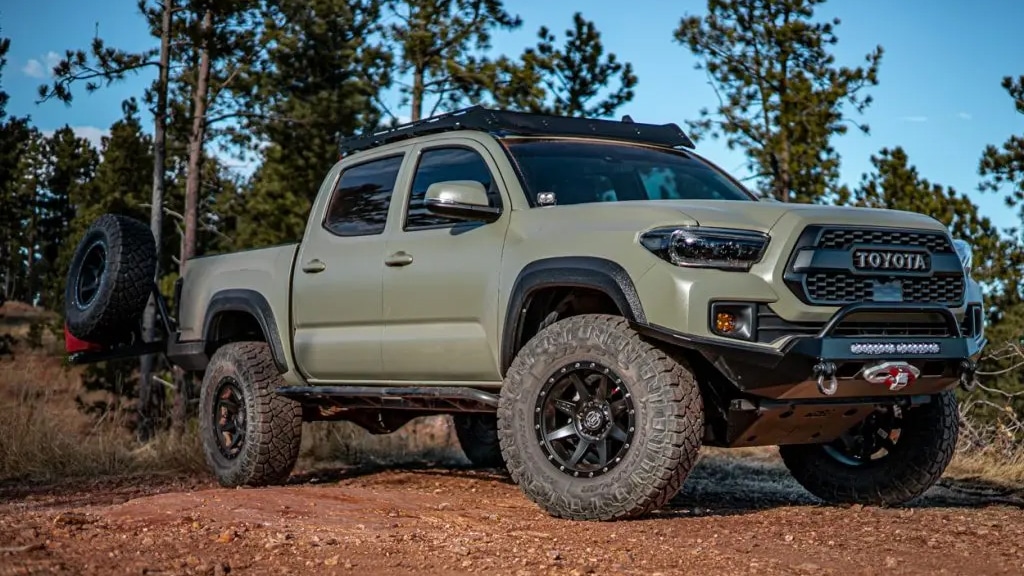
There’s little doubt that Toyota makes some great cars, and the Tacoma is no exception. It has been a staple in the off-road community for decades.
But even a solid truck like the Tacoma will perform poorly if basic maintenance items are neglected. Things like staying on top of your oil changes are absolutely vital to ensuring good engine health.
Regularly changing your oil and filter prolongs engine life and keeps it free of blow-by contaminants. These are the combustion gases that seep past the piston rings and enter the crankcase.
Airborne dust particles make their way through the air filter, adding to the contamination and causing engine components to wear out sooner than they’re supposed to.
Oil additives help to some extent by prolonging the oil change intervals, but neglecting this maintenance item beyond a certain point will snowball into serious mechanical problems.
It’s something you can easily do by yourself, with just a few tools and the right information, which you’ll find in this article.
Whether your Tacoma is nearing its 30th birthday or just came off the production line, this guide will walk you through everything you need to know to get the job done.
Required Tools and Equipment
Performing oil changes and basic maintenance on your Tacoma is easier than you might think, and it doesn’t require any special tools.
All the equipment that you’ll purchase for this project will come in handy each time you need to change your oil.

When it comes to changing the oil in a 2.4L or a 2.7L Toyota Tacoma, the equipment and tools listed below are all you’ll need. For any other Tacoma engine, you’ll need a few more in addition to the following:
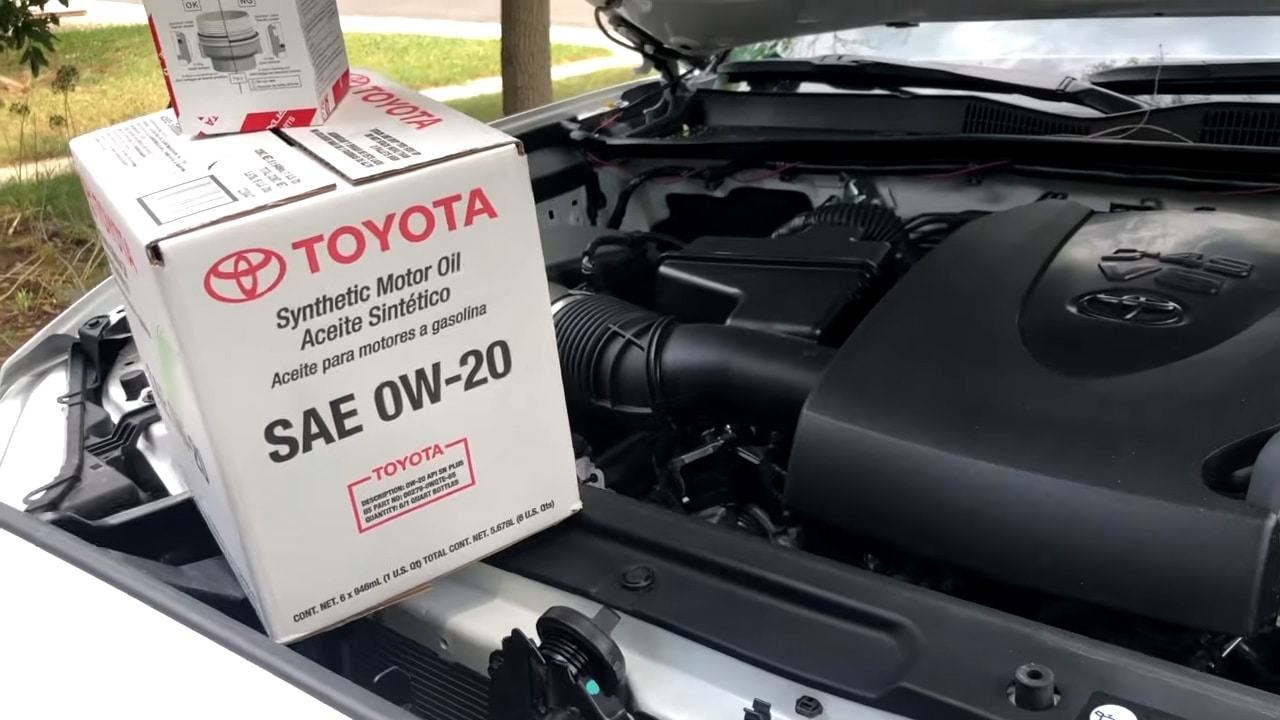
- 6 qt of oil
- Oil filter
- Oil catch pan (minimum 7-quart capacity)
- RagsFilter wrench
- 3/8″ ratchet
- 14 mm socket (3/8″ drive) from your socket set
It’s not a long list by any means. You will be able to purchase everything you need from your local auto parts store or you can order the tools online and get them sent straight to you using the links above.
1st, 2nd, and 3rd Gen Tacoma Oil Change Guide
Despite being spread out across 3 generations with 7 engines and countless trim levels, changing the oil in your Tacoma is quite straightforward.
Below we’ve clarified some of the steps involved in this process for gen 1, gen 2, and gen 3 Tacomas.
Gen 1
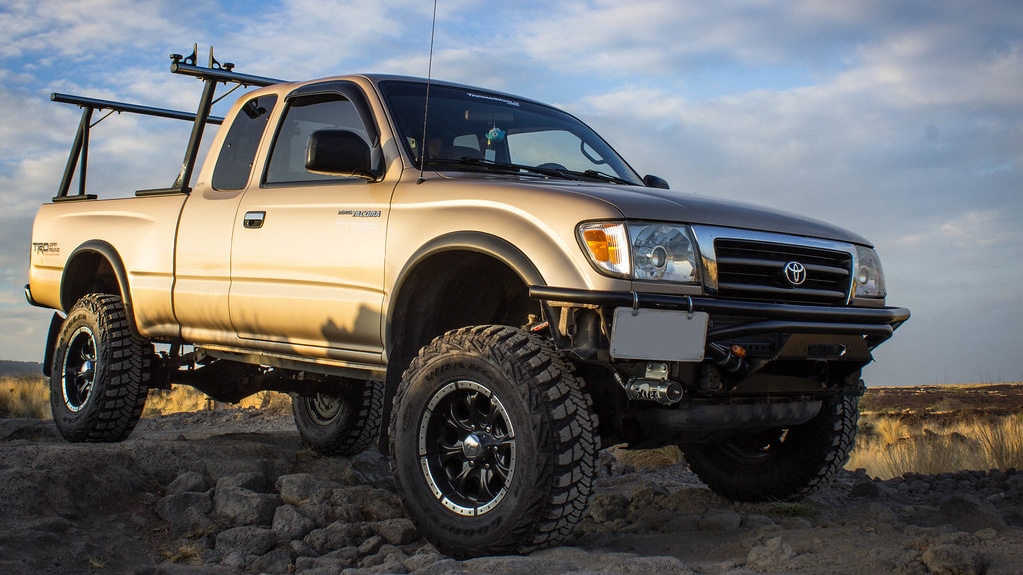
Toyota first unveiled the Tacoma in 1995 as a replacement for the Hilux which was originally marketed in the US as the Toyota Pickup.
The gen 1 model stayed in production until 2004. They had three different engine options during these years:
- 2.4L 4-cylinder | 142 hp, 160 lb-ft
- 2.7L 4-cylinder | 150 hp, 177 lb-ft
- 3.4L V6 | 190 hp, 220 lb-ft
The 2.7L and 3.4L engines came right off their 4Runner line, so if you’ve ever changed the oil in a 3rd gen 4Runner, expect to see a few similarities.
If you drive a 2.4L or 2.7L gen 1 Toyota Tacoma, then you can skip right to the step-by-step guide.
However, if you’re completing an oil change on a 3.4L Tacoma, then you’ll need to purchase a set of needle-nose pliers and a 3″ ratchet extension in addition to the required tools mentioned above.
With the 3.4L V6 engines, the drain plug is in plain sight, but it can only be accessed through a pre-cut hole on the skid plate.
Because of this, you’ll need the extension in order to get to it. Additionally, you need to take the liner off the driver-side wheel well to access the oil filter.
It’s a pretty simple process that involves twisting the push pins out of place, but it’s by far the easiest way to access your oil filter.
Other than those two specific modifications for the 3.4L, you can complete every gen 1 Tacoma oil change using the step-by-step guide below.
Gen 2
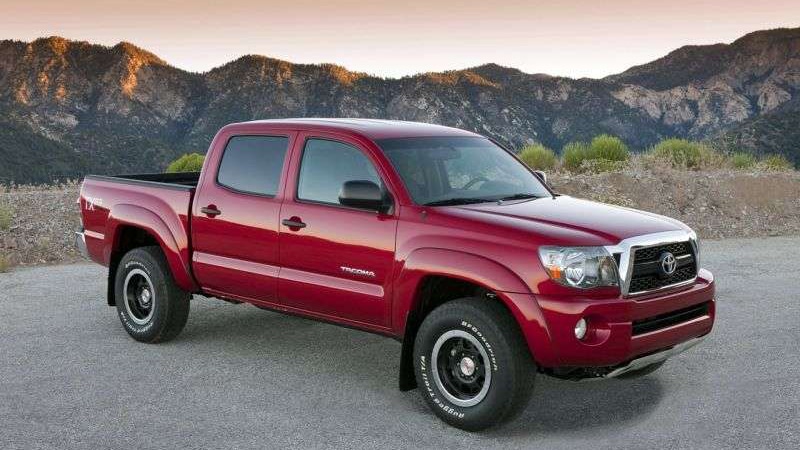
In 2005 Toyota completely overhauled the Tacoma, and in doing so they cut all 3 previous engine configurations. From 2005 to 2015, there were two engine options to choose from:
- 2.7L 4-cylinder | 159 hp, 182 lb-ft
- 4.0L V6 | 236 hp, 266 lb-ft
Even though the 2.7L 2TR-FE engine has the same displacement as the gen 1 3RZ-FE engine, it’s a completely different motor.
When it comes to changing the oil on the gen 2 Tacoma, the new 2.7L engine doesn’t require any special steps. The guide below covers everything you’ll need.
However, the 4.0L engine has a top-mounted oil filter, which means you’ll need to drain it before taking it off. Otherwise, you’ll end up with a ton of oil all over your engine.
Because of this, you’ll need a 5/16″ tube that you can hook up to the oil drain on the filter.
As long as you drain out the filter before removing it, you won’t have any mess. Other than that, changing the oil is the same as with any other Tacoma.
Gen 3
In 2016 Toyota released the most recent generation of Tacomas — the 3rd generation.
So, if you’re completing a 2016+ Toyota Tacoma oil change or an oil change, then there are two engine options you can choose from:
- 2.7L 4-cylinder | 159 hp, 182 lb-ft
- 3.5L V6 | 278 hp, 265 lb-ft
The 2.7L engine is the exact same engine that’s in the gen 2 Tacoma, and it’s a pretty simple oil change process. However, the 3.5L V6 has two additional steps that you’ll need to follow:
- You’ll need a 10mm socket to remove the skid plate
- You’ll still need a 3″ extension for your ratchet to reach the drain plug
Finally, just like the 4.0L engine, the oil filter on the 3.5L is on top of the engine. But, unlike the 4.0L where all you need is a 5/16″ tube to drain the oil, the 3.5L requires an oil filter drain tool.
Changing Your Oil: Step-by-Step Process

Now that you know about the various nuances involved in this process, let’s take a closer look at how you can go about it.
Below we’ve outlined the steps involved in changing your Tacoma’s engine oil.
Warm the Engine Up
While this step is not extremely essential, going through with it will help to filter the contaminants from your engine and allow them to drain out.
Oil thins out at higher temperatures, and that’s when it picks up different contaminants and cleans out the engine. That said, when you’re working with a warm engine, you need to be careful.
Both the oil pan and the oil will be hot, so be sure to not touch any of the metal components or let the oil spill onto your hand when you unscrew the drain plug or remove the filter.
You don’t want to get the engine up to a full operating temperature though, otherwise, the oil will get too hot and can lead to severe burns.
Instead, run the engine for two or three minutes to get the oil to about 100°F before completing the oil change.
If the engine is already at operating temperature, let it sit for about 20 to 30 minutes to let things cool down a bit before completing the oil change.
Of course, once you warm up the engine a bit, turn the engine back off before moving on to the next step.
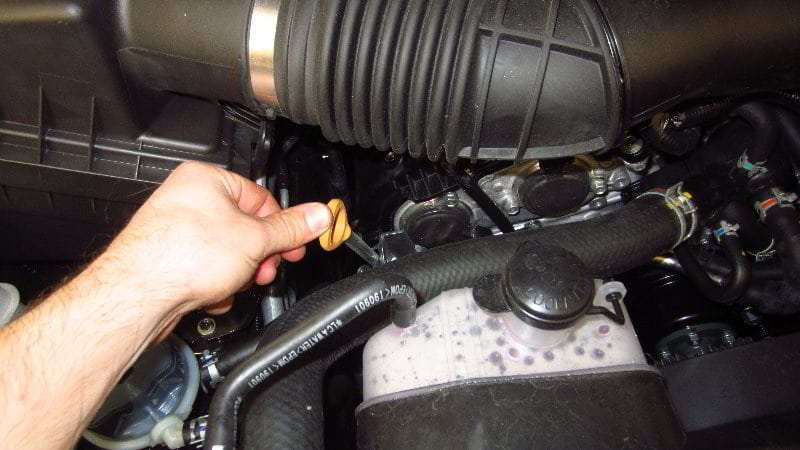
Unscrew the Oil Cap
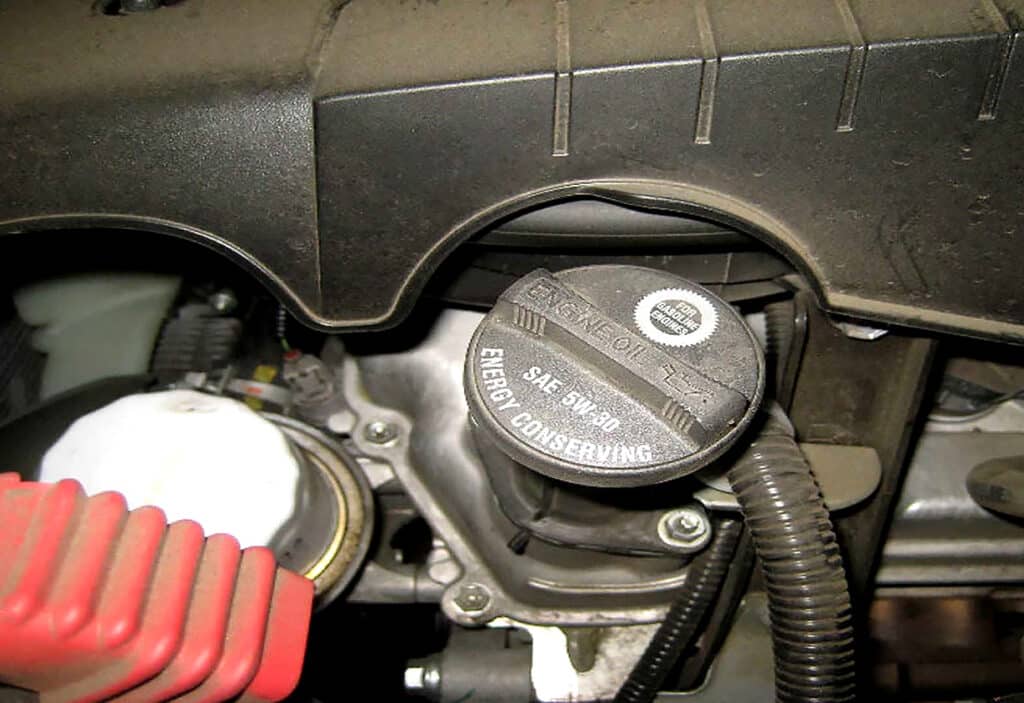
This is an often overlooked step, but it makes draining the oil a lot more effective. That’s because when you’re draining the oil, you’re creating a vacuum unless you let air backfill where the oil was.
Without opening the oil cap, the oil takes slightly longer to drain, but it will eventually drain out fully because engines are not air-tight. Air can easily enter through the PCV system.
In some cars, however, removing the oil cap does speed things up a bit.
Remove the Drain Plug
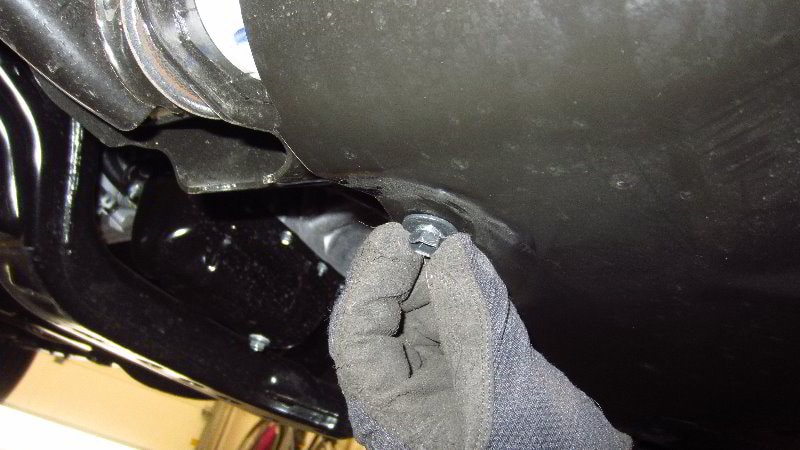
When you’re changing your oil, the first thing you need to do is drain the old oil out of the system. Every Tacoma drain plug is at the lowermost point of the oil pan, making it relatively easy to track down.
Set up your oil catch pan, and then use the ratchet and the 14 mm socket to remove the drain plug.

You will have to remove a skid plate to access the plug depending on what engine your Tacoma has. If that’s the case, use a 10 mm socket to remove the bolt holding it in place, remove it, then remove the drain plug.
Give the oil plenty of time to drain during this step and be careful when removing the drain plug not to hurt yourself by touching hot metal or letting the hot oil fall onto your hands.
To do that, simply apply pressure while undoing the plug, and when it’s unscrewed completely, remove it as quickly as possible. Ensure the oil drain pan is placed directly below the drain plug before doing so.
When the oil is fully drained out, cover the drain pan back up and move on to removing
Remove the Oil Filter
Once you finish draining the oil out of the engine, the next step is to remove the oil filter.
You want to do this after draining the engine; otherwise, all the oil will drain out while you unscrew the oil filter and it’ll make a big mess.
Compared to finding the drain plug, tracking down the Toyota Tacoma oil filter location can be a bit more challenging.
For the first generation 3.4L it’s behind the driver’s side wheel well, and for the 4.0L and 3.5L motors, it’s a top-mounted oil filter.
If your Tacoma has a top-mounted oil filter, you’ll want to drain the filter before unscrewing it.
Once you’re ready to remove the filter, you can try to turn it counterclockwise by hand, or you can use an oil filter wrench to take it off.
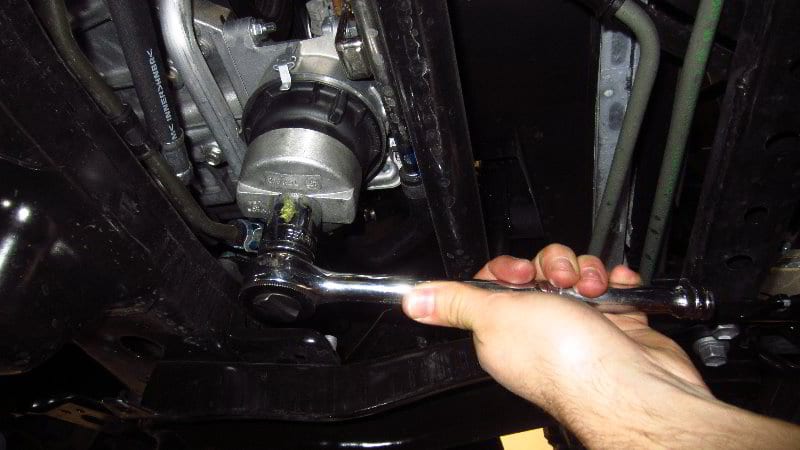
Reinstall the Drain Plug
Now that you have all the old oil out of the system and the old filter off, you can start putting everything back together.
Check that the drain plug still has an intact rubber gasket around it, then start threading it clockwise into place.
You don’t want to over-torque the drain plug, but you don’t want it too loose either. Using your 3/8″ ratchet it should feel tight, and then you should go about another eighth of a turn.
And if you want to avoid the hassle of undoing the drain bolt, replacing the crush washer every time, and worrying about over-torquing, consider installing a quick drain oil plug.
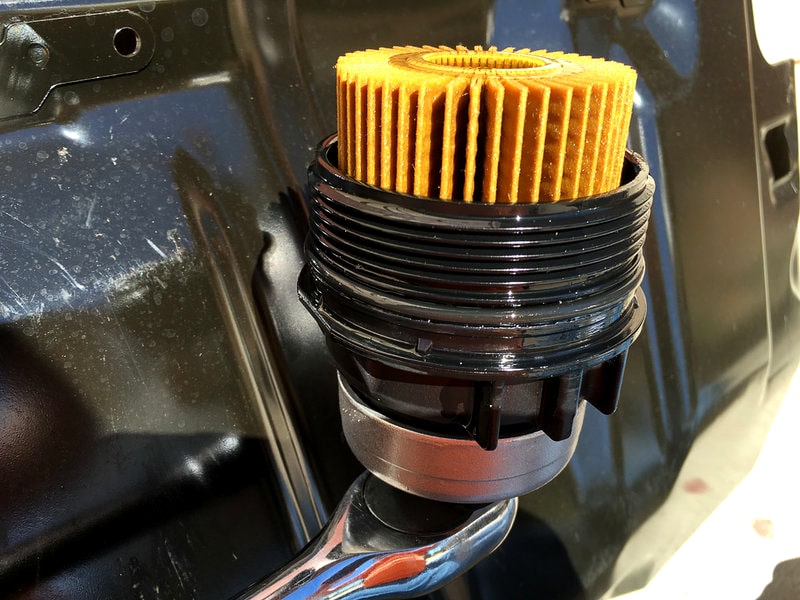
Install the New Filter
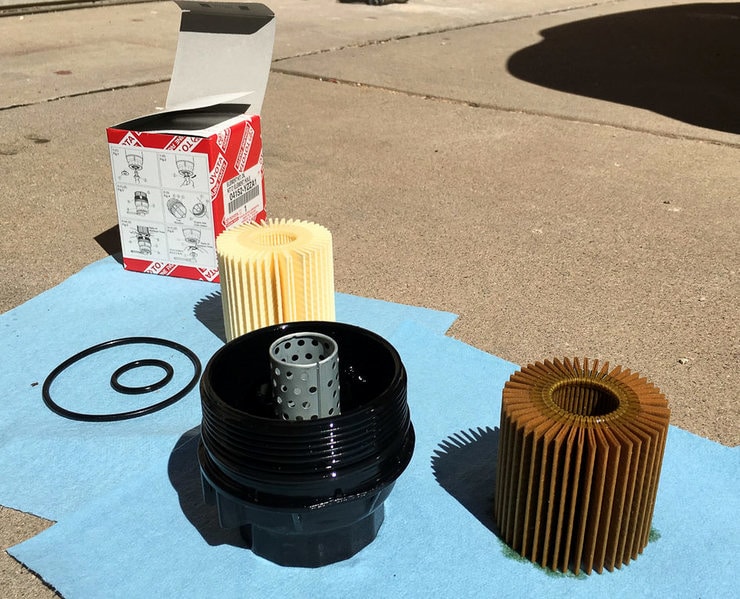
Once you have the drain plug back in place, you can install the new oil filter. Apply some clean oil around the rubber o-ring at the top of the filter, then screw it into place by turning it clockwise.
During this step ensure that the old o-ring isn’t attached to the housing. If you accidentally install 2 o-rings, all the oil will leak out.
Don’t use any tools when installing the new oil filter, simply hand-tighten it into place.
Once you start your truck, it will suction further into place, and if you used tools to tighten it, then you’ll likely have some difficulty getting it off during the next oil change.
Add the Oil
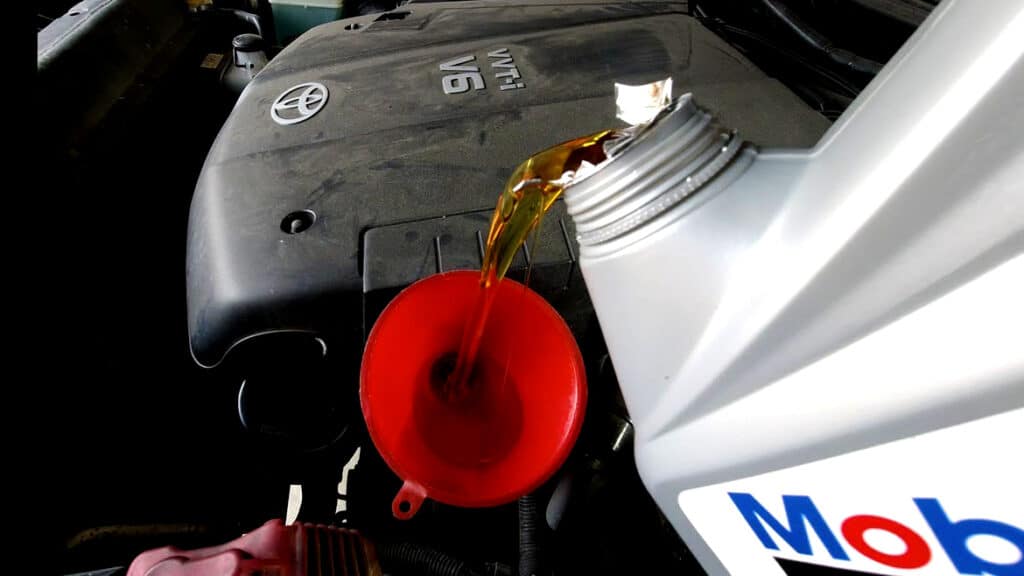
Now that you have the drain plug back on and the oil filter in place, it’s time to add the new oil. Use your oil of choice and add 5.5 qt. Check the dipstick at this point and add enough oil to fill it up to the full mark.
| Engine | Oil Capacity | |
|---|---|---|
| Gen 1 | 2.4L 2RZ-FE L4 | 6 qt |
| 2.7L 3RZ-FE L4 | 6 qt | |
| 3.4L 5VZ-FE V6 | 5.5 qt | |
| Gen 2 | 2.7L 2TR-FE L4 | 5.5 qt |
| 4.0L 1GR-FE V6 | 5.5 qt | |
| Gen 3 | 2.7L 2TR-FE L4 | 5.5 qt |
| 3.5L 2GR-FKS V6 | 6.2 qt |
In some instances, you will require more than the recommended quantity. Some Tacomas need up to 7 qt of oil depending on a few factors such as:
- Whether you have an oil cooler installed
- How warm or cold your engine is during the oil change, and
- How much oil your filter needs
As long as your dipstick is covered in oil up to the second marker/divot, you’re in the clear.
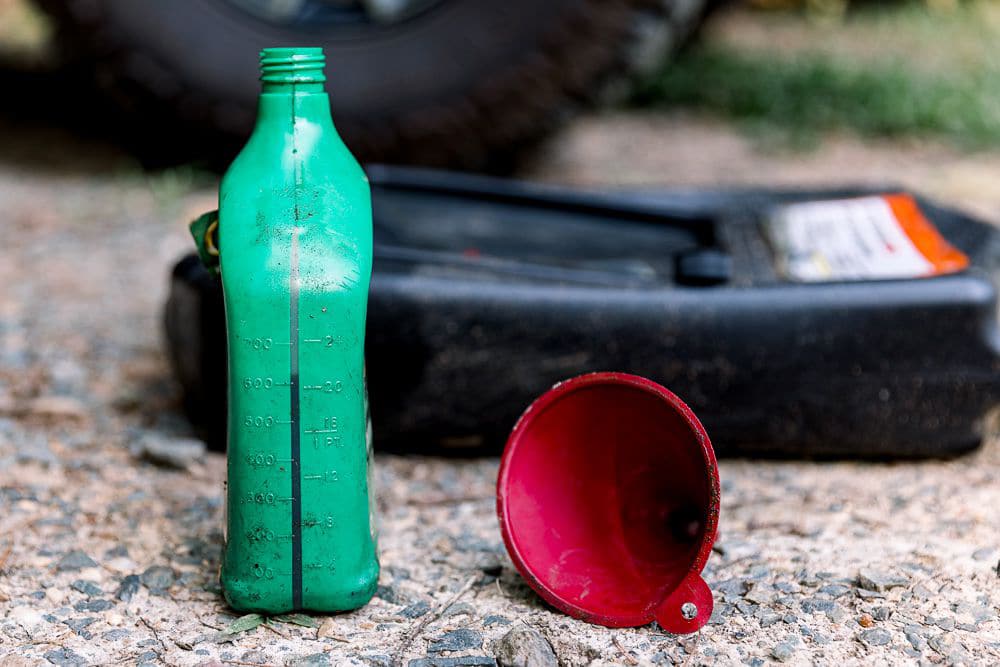
For a cleaner process, you can use a funnel to add the oil, but depending on your level of expertise you might not need to do that.
Start the Engine and Check the Oil Level
Reinstall the oil filler cap and start up the engine. You don’t need to leave it running for long at this point, simply running it for a few seconds should do the trick.
Once you shut off the engine, check the oil level on the dipstick again. Running the engine fills all the different nooks and crannies throughout the engine, particularly the oil filter.
If you skip this step, there’s a good chance that you’ll have a little less oil in your engine than you need, but it really shouldn’t be low enough to make too much of a difference.
Top Off if Necessary
If the dipstick isn’t at the completely full mark, go ahead and top it off. You won’t need a lot of oil to get there; probably less than a quart.
Once you top it off at this point, you shouldn’t see the oil level drop again unless there’s a problem with the engine. You’ve already filled up the filter and channels, so you should be good to go.
How Often Should You Change Your Oil?
It really depends on what kind of oil you’re using, but chances are you’re changing your oil more often than you need to.

If your Tacoma still has its factory warranty, we recommend sticking with the recommended service intervals, which are every 5,000 miles for conventional oil and every 7,500 miles for fully synthetic oil.
However, once you’re past the warranty period you set your own intervals.
We still recommend every 5,000 miles for conventional oil, but for full synthetic oil, you can stretch that number out to 15,000 miles if you use the correct oil.
If you take a look at how much you’re spending per oil change, going with a full-synthetic oil is by far the more cost-effective option if you can use the longer service intervals.
Finally, feel free to switch to full synthetic oil after your warranty period if that makes more financial sense for you.
Using the Right Oil
Whether your Tacoma is still under warranty or not, you want to get the correct oil. Every Tacoma takes either 5W-30 or 0W-20 engine oil, and the exact oil weight depends on the year and engine in your Tacoma.
To make it easy for you, we created the chart below to help you track down the correct oil for your truck.
So, whether you’re completing a 2.7L 2017 Tacoma oil change or servicing a 2.7L 1995 Tacoma, this chart will point you in the right direction.
| Year | Engine | Recommended Oil Weight |
|---|---|---|
| 1995-2004 | 2.4L | 5W-30 |
| 1995-2004 | 2.7L | 5W-30 |
| 1995-2004 | 3.4L | 5W-30 |
| 2005-2015 | 2.7L | 0W-20 |
| 2005-2015 | 4.0L | 5W-30 |
| 2016-2022 | 2.7L | 0W-20 |
| 2016-2022 | 3.5L | 0W-20 |
How Long Can You Store Unused Oil?
Some sites out there recommend that you buy your oil in bulk, and while we understand the temptation because the 5-quart jugs cost less per quart than the single-quart containers of oil, we recommend against this.
The reason is pretty simple. Once you open the oil, it’s only good for about a year. Opened containers are more susceptible to a variety of conditions that include condensation, oxidation, and additive fallout.
When you put oil in your truck, you want it to be top-notch quality, and even if you’re doing everything right, you should store the oil properly. You’re not getting the best with an open container.
However, as long as the container stays unopened you can store it for about five years, as long as you keep it in dry conditions between 32°F and 80°F.
Tips to Make Changing Your Oil Easier
When you’re completing your Tacoma oil change, the last thing you want is to make things harder on yourself than needed.
We’ve highlighted a few different tips for you to follow here to make the process as seamless as possible.
Use the Right Tools

Why struggle and spend 2 hours to finish a 20-minute job because of not having the right tools?
It doesn’t matter if you’re completing a Tacoma oil change or replacing the head gaskets, every job can become a nightmare if you’re not using the right tools.
If you already have a comprehensive tool set, then you don’t need to worry about this, but if you’re missing something, we highly recommend buying the right tools for the job.
Dispose of the Oil Properly
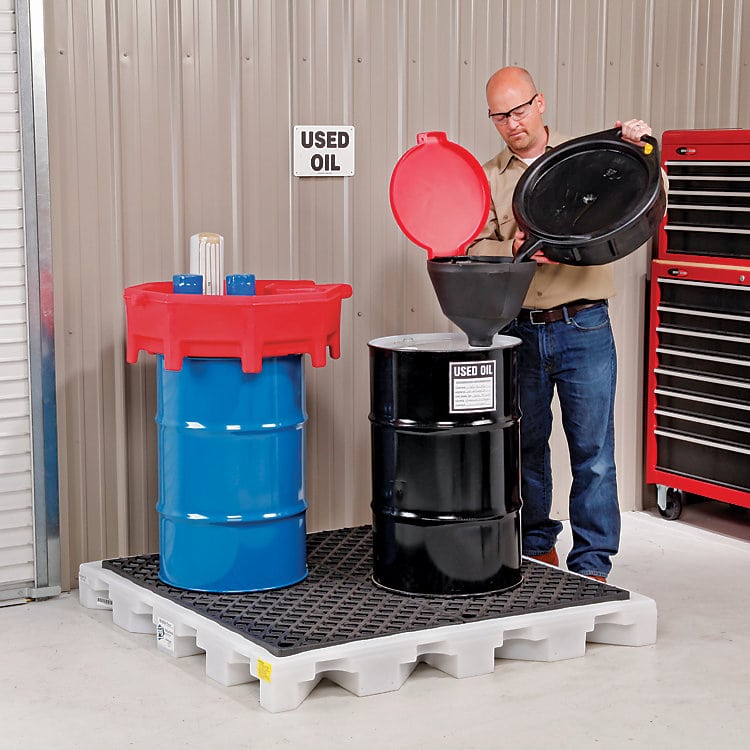
Once you drain the oil, you need to dispose of the old stuff properly. Improperly disposing of it can lead to massive headaches and penalties, and disposing of it properly is easier than you think.
That’s because most automotive stores will take used motor oil, meaning all you need to do is take it to the store in your drain pan.
Walmart automotive centers participate, as do most AutoZone, Napa, and OReilly’s automotive stores.
Always double-check your local stores’ participation, but if they do participate, they’ll take it for you free of charge.
You don’t need to buy your new oil from there either, so there’s no reason not to do the responsible thing and dispose of your oil properly.
Wear Gloves

If you’re not an experienced mechanic, we highly recommend wearing a pair of mechanics gloves when completing your Tacoma oil change.
These gloves protect your fingers and do an excellent job of retaining the grip. They’ll even provide mild burn protection if you accidentally touch something hot.
Another reason for using a pair of mechanics gloves is that it makes cleanup much easier. Even if you do everything right, working on trucks is dirty work.
Wearing a pair of mechanics gloves saves you from spending an inordinate amount of time washing up at the sink after the job. If you do find yourself in that situation, ensure to use the best hand cleaner for mechanics.
In Conclusion
Oil changes are a walk in the park for people who are mechanically inclined. But for the uninitiated, it can be quite an adventure. It only gets easier each time you repeat the process.
Is this going to be your first-ever oil change? What model year Tacoma is your favorite? Let us know by leaving a comment below!
If you’ve enjoyed reading this guide or if it has helped you in any way, do consider sharing it on Reddit, with your friends on Facebook, or any of your favorite online communities.
We appreciate your support.
1 comment
This was a great how-to. Thanks for posting! Working on a 2003 Tacoma today.