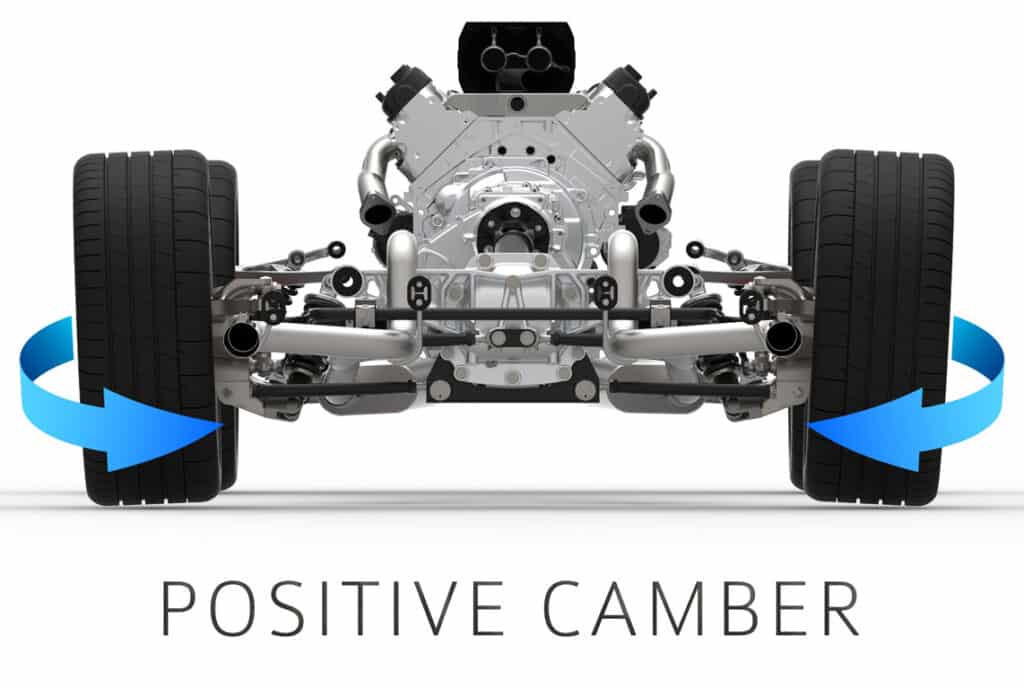
Your car’s camber angle has to do with the inward or outward tilt of your wheels. Negative camber means the top of the wheels is leaning in, and positive camber means the top of the wheels is leaning out.
Modern cars run a certain amount of negative camber, while vintage ones often have a bit of positive camber — which is not recommended these days.
Neutral camber, or 0° camber, means the tire sits at 90° to the road surface, and while this offers the most grip when launching the car — which is why it’s commonly used on drag racers — it’s certainly not the best for going around corners.
Changing the camber directly affects the wheel’s contact patch with the road, which dictates how much grip and steering feel you’ll have, so it’s important to get it right.
For improved cornering grip, you’ll want some negative camber, and this is exactly why it’s used on modern cars.
When turning, the outside wheel will then gradually move back toward 0° — the ideal contact patch.
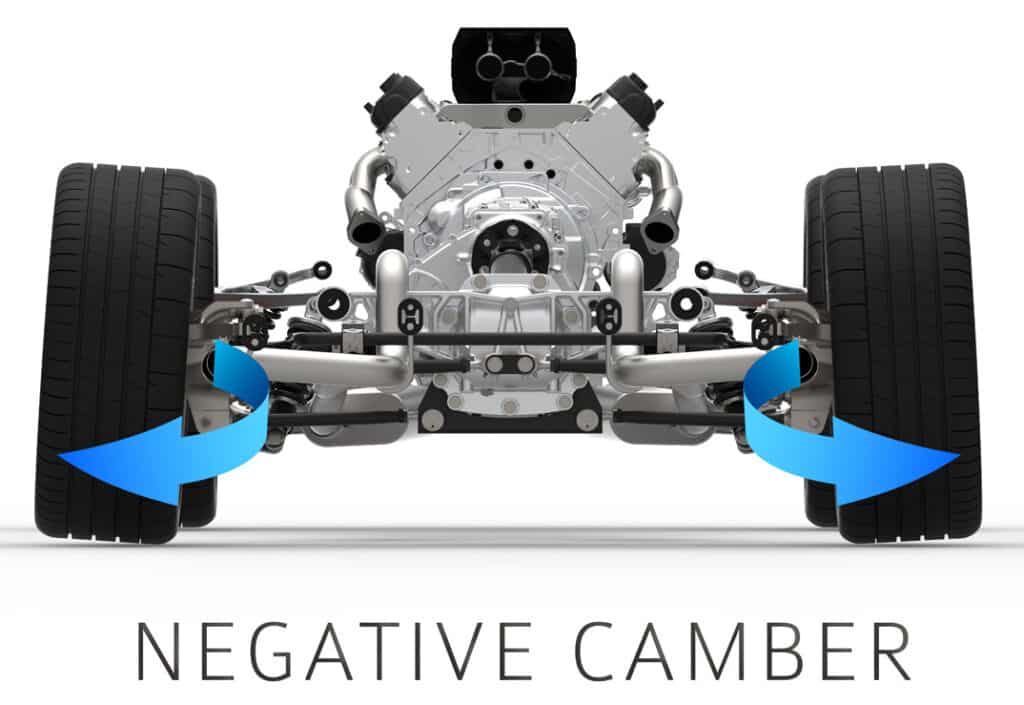
You don’t want too much negative camber, though. Anything more than a couple of degrees can have negative impacts, and you’ll enter the stance realm of stance cars.
Whether it’s for looks or track use, it may be a good idea to install camber plates so you can fine-tune the camber angles. In this article, we’ll go through what camber plates are, how they work, and how to adjust them.
What Are Camber Plates?
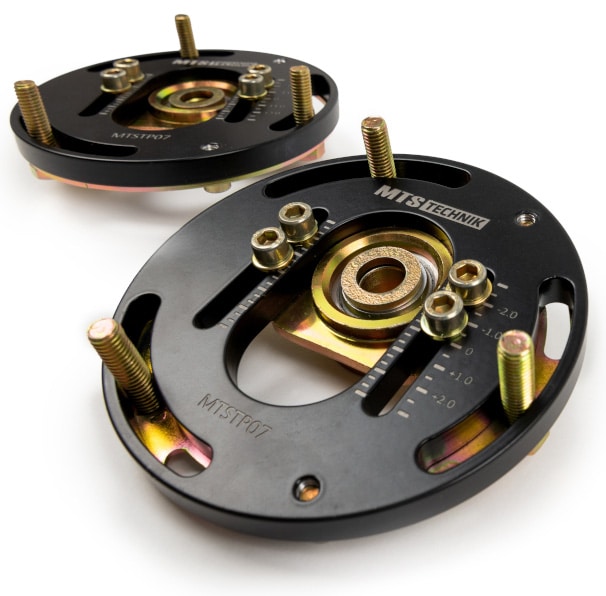
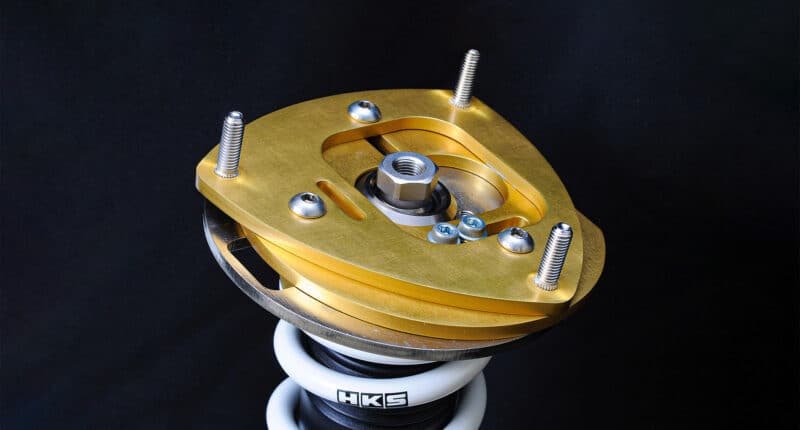
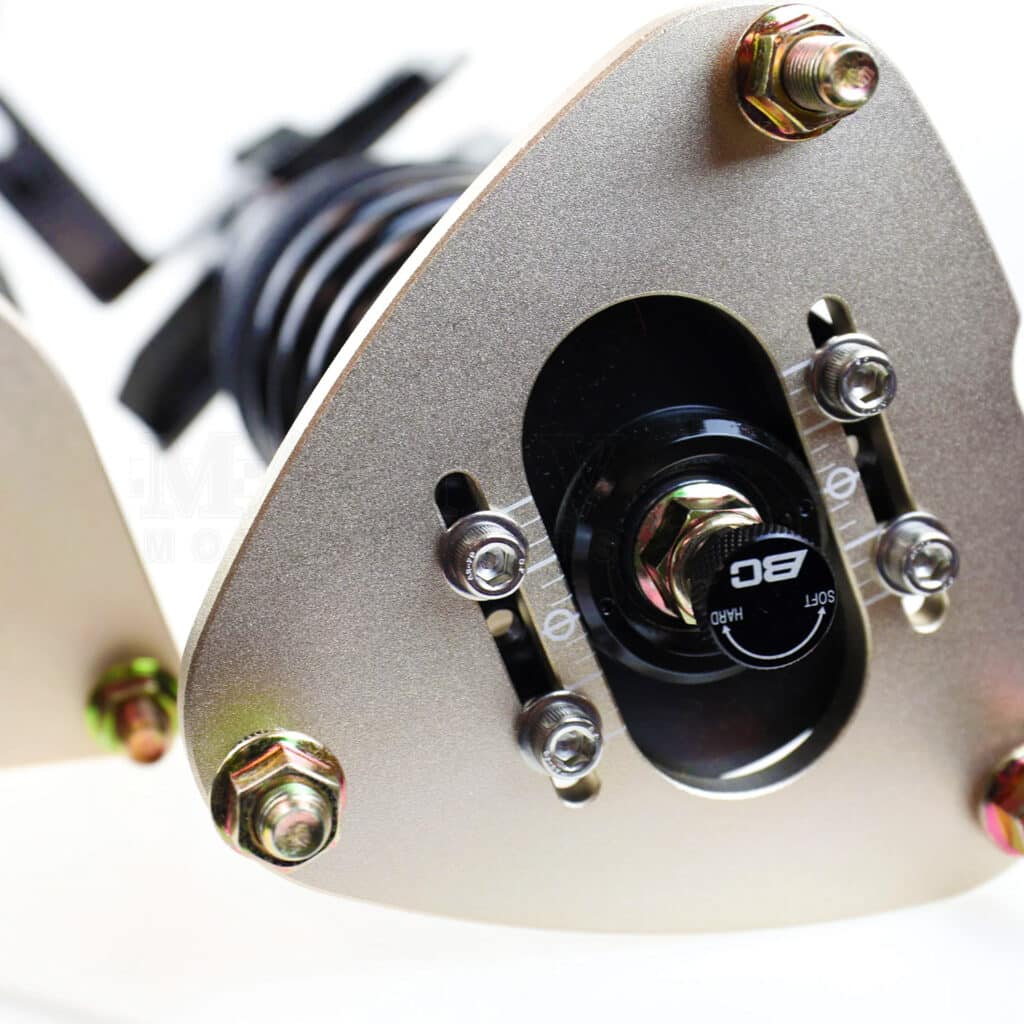
In the simplest of terms, camber plates are CNC-machined, fully adjustable strut mounts for your car’s suspension that allow you to adjust your camber and caster angles.
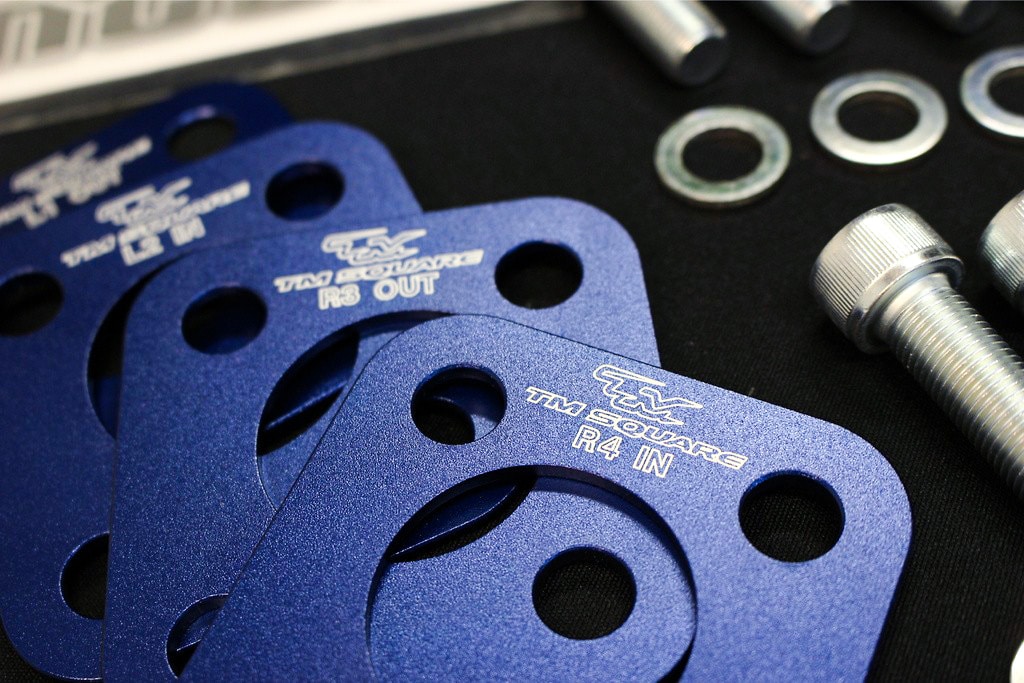
Now, it should be noted that most OEM suspension setups do offer some degree of adjustability using parts such as shims, eccentric bolts, turn-buckle joints, and, in some cases, adjustable control arms.
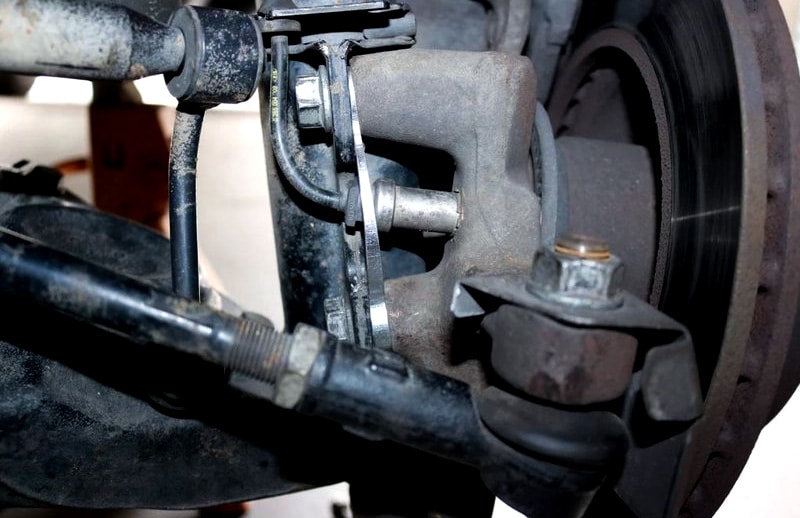
It’s important to know that camber plates aren’t the only part that lets you adjust camber and caster angles. In addition to the ones mentioned above, there are also camber bolts.
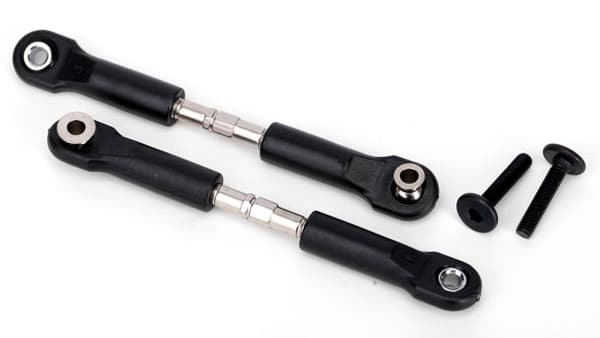
The main benefits of using camber plates are that they allow for 2° to 3° of adjustment, whereas camber bolts will max out around 1.5°, and the camber angle can be easily changed using an Allen wrench.
They’re available for a myriad of cars and suspension setups, so chances are there’s a set of camber plates available for your car, and there’s no need to worry if you have installed a strut brace — the camber plates will work with those as well.
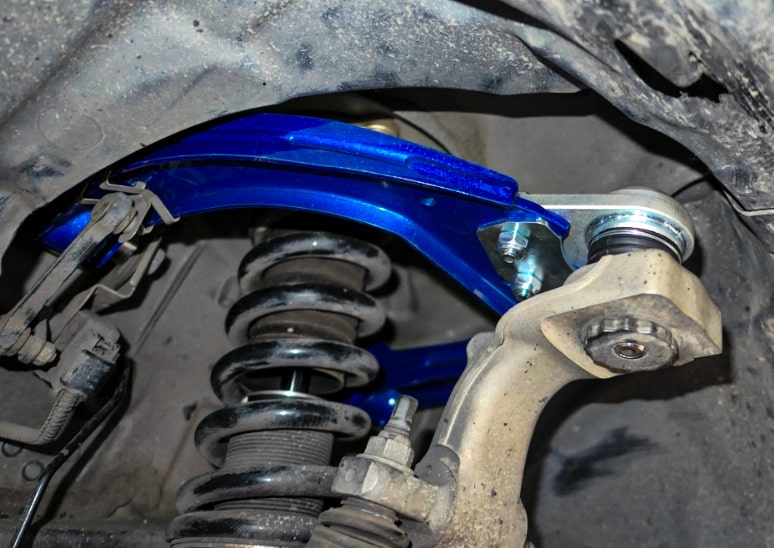
While they technically will work with stock shocks, the best option is to use coilovers with camber plates.
Sometimes, the OEM strut spring perch is too large and will come into contact with the strut tower bolt, which will limit adjustability.
Coilovers usually have smaller spring perches, so a coilover + camber plate combo is a much better option.
How Do Camber Plates Work?
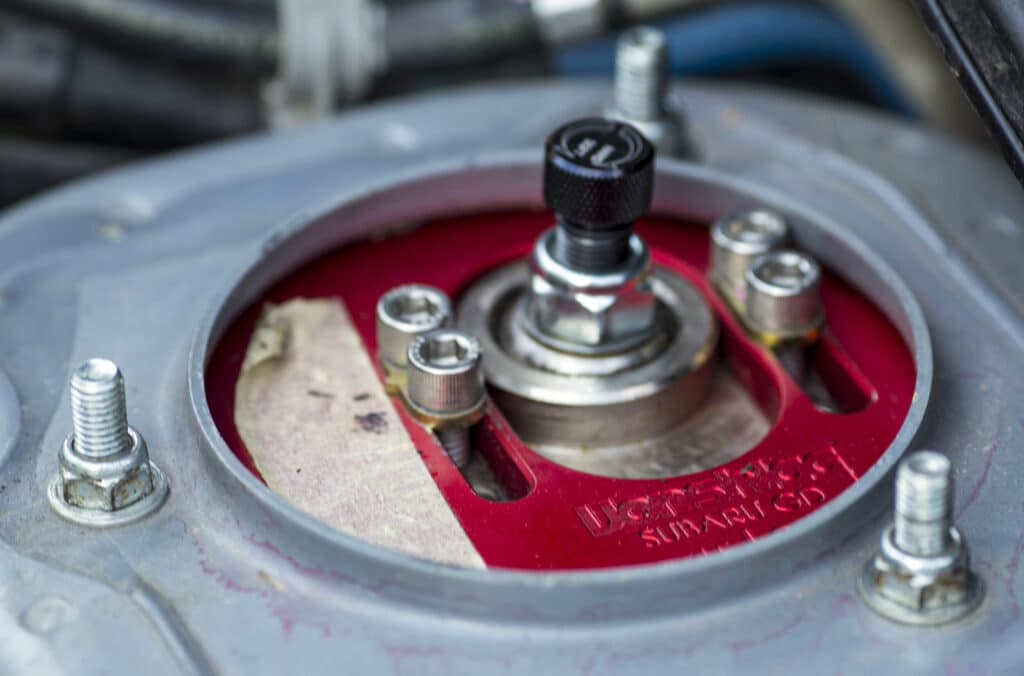
It doesn’t matter what type or brand of camber plate you decide to go with, as they all work in a very similar way.
Essentially, the top part of the plate will bolt onto the strut mount, and the bottom goes on the strut, and the two are then connected.
When you make any adjustments, the top part of the plate will stay flush with the strut tower mount and the bottom will move, and that’s how the camber gets dialed in — a simple, yet very effective system.
Camber plates offer more adjustment than both the car’s factory setup and camber bolts.
For that reason, it’s the preferred camber adjustment of many track day enthusiasts and those who enjoy a spirited driving session on their favorite twisty road.
It’s also surprisingly simple to adjust the camber using plates, and that makes it a winner in our book.
How to Adjust Camber Plates?
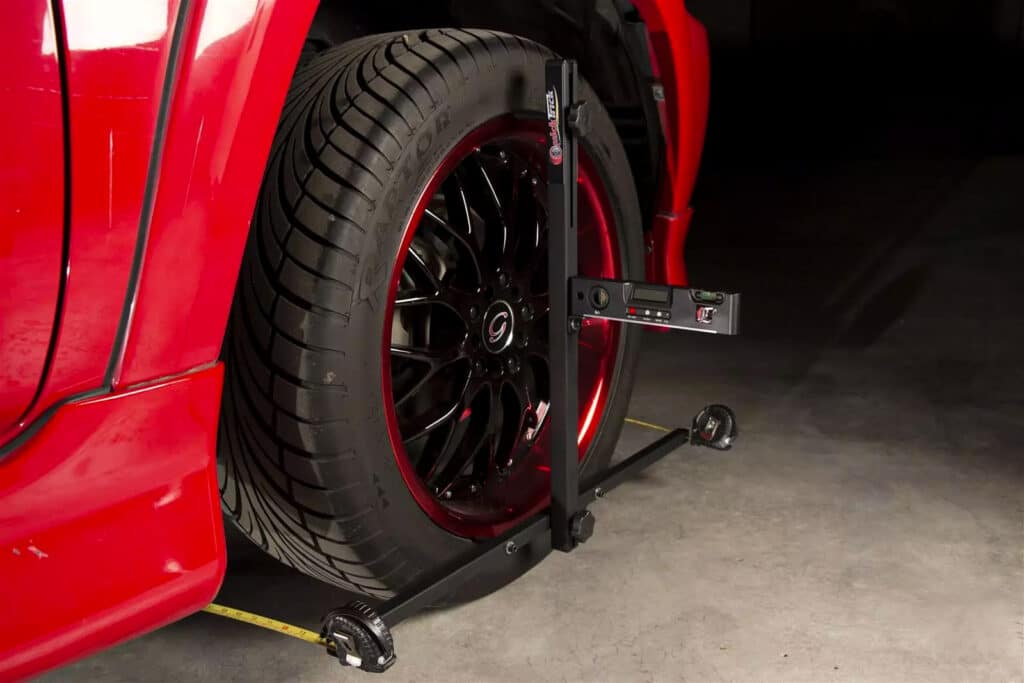
While the actual adjustments are simple enough, our one top tip before you start making any adjustments is to figure out roughly what settings you should use for your specific use case.
You can do that through some basic research and asking questions on forums and Facebook groups.
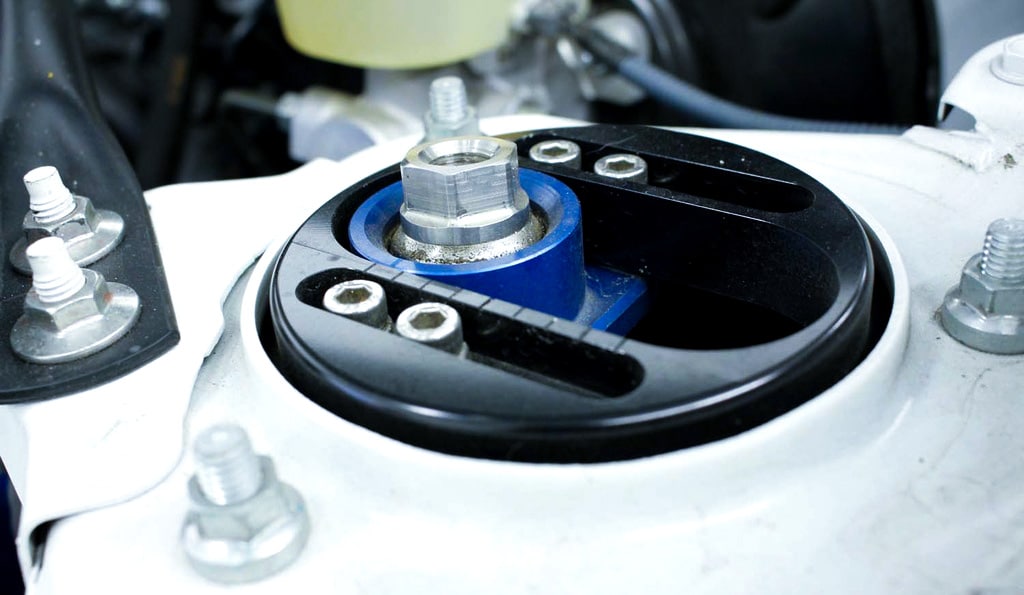
Use that info to dial in the handling characteristics you want from your car. Once you’ve figured that out, it’s time to get your hands (a little) dirty.
The only tool you’ll need is an Allen wrench. You use that to loosen the adjustment screws found on the top of the camber plate.
Once those screws have been loosened, the coilover (or suspension strut) can be moved in or out.
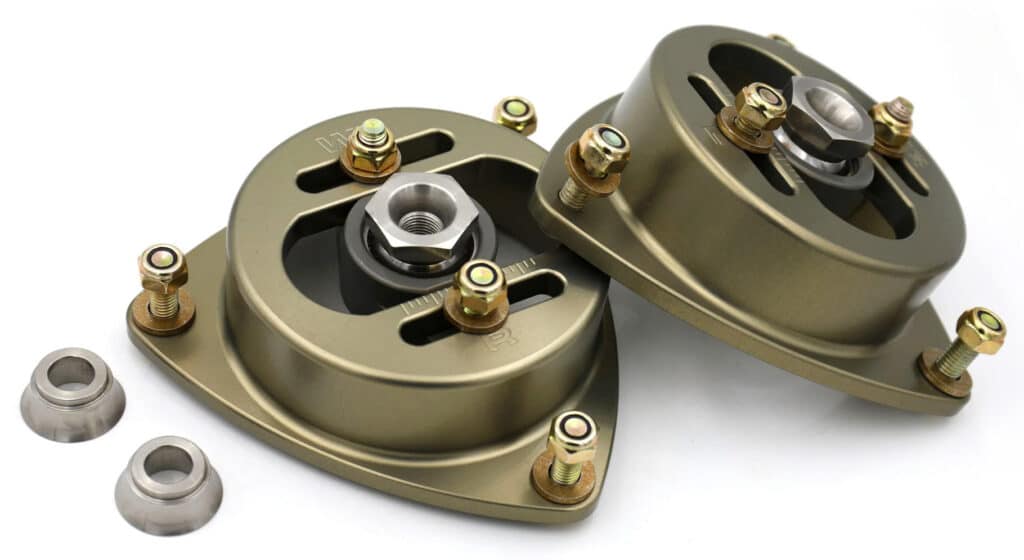
Line it up with one of the markers that’s on the top of the camber plate — usually, each mark is half a degree of camber change.
When you’ve set it to the desired camber angle, you just need to tighten the screws. Rinse and repeat for the opposite side of the car.
We recommend that you only make small adjustments each time, and avoid changing many suspension components at the same time.
By changing components one at a time, you’ll only see small geometry changes.
That makes it much easier to rectify the changes with small adjustments, allowing you to dial in and fine-tune the handling and driving experience.
Concluding Summary
Camber plates are among the best and easiest ways to adjust your car’s camber angles.
As a bonus, they’re also relatively cheap, at least when compared to certain other suspension components.
You should do some research before installing them, though, as in some cases you may not need them at all, and if you want to run excessive, Onikyan-style camber angles for that stanced look, you’ll probably need fully adjustable control arms.
If you’ve decided camber plates are the way to go, make sure you install them correctly and only make minor adjustments to get everything dialed in perfectly.
Doing so will help you avoid potential handling issues and excessive or uneven tire wear.
Have you fitted camber plates to your car, or are you considering it? Let us know in the comments below.
