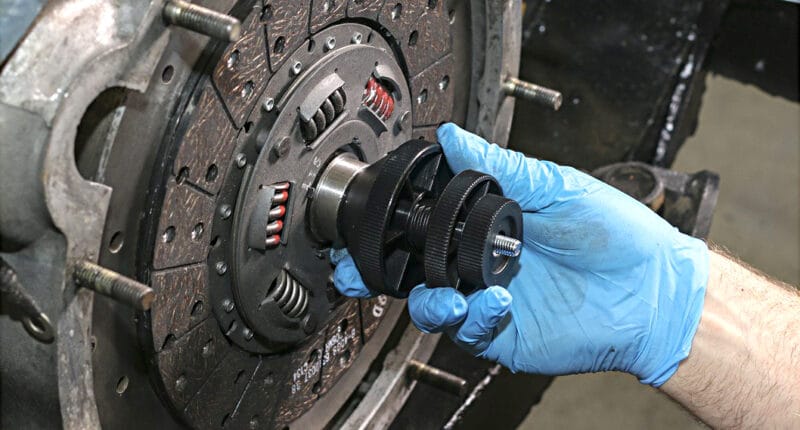
The clutch alignment tool is something that you’ll only use on rare occasions. But when you do, you’ll be glad you had it in your workshop tool kit.
Basically, the tool allows you to align your friction plate with the spigot bearing when you’re installing a new clutch.
The clutch replacement process requires you to align your transmission and clutch assembly as seamlessly as possible. To do this properly, you need an alignment tool.
Because if it’s done incorrectly, your clutch disc might slip out of alignment and won’t engage with the gearbox input shaft, causing all sorts of problems. To fix this, you’ll have to pull your transmission, uninstall the clutch and reassemble it all over again — not fun.
Clutch alignment tools will save you a lot of time and frustration. Sure, there are ways to go about it without using specialized tools. But considering how cheap these tools are, it makes sense to purchase them.
And besides, the consequences of driving your car with a misaligned clutch are far more expensive than what these tools cost.
In this guide, we’ll take you over what clutch alignment tools are, how to use them, and which ones to buy. Let’s get into it.
Purpose of Clutch Centering Tools
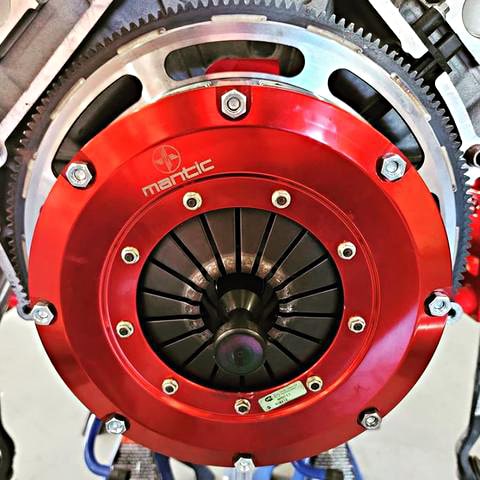
There isn’t much to the mechanics of clutch centering tools. They’re extremely simple in the way they function and have only one job — to make sure that your clutch friction plate is perfectly aligned with the spigot bearing (also called pilot bearing) at the end of your crankshaft.
It’s actually not that difficult to align the friction plate and the spigot bearing by hand. The real problem arises when you torque down and clamp the pressure plate right behind the friction plate.
When you do this, there is a high chance of the friction plate getting knocked out of alignment. This is something you need to get right the first time. Otherwise, if it’s not centered, you won’t be able to get the transmission to go into the spline.
As long as the alignment tool is supporting the friction plate when you install and torque down the pressure plate, it won’t budge. It will stay aligned, and your gearbox will be easy to fit afterward.
To visualize this, consider that the splined part on the gearbox input shaft engages with the friction plate (after the transmission is installed), and the remainder of the input shaft is what connects to the spigot bearing at the end of your crankshaft.
Why Is Clutch Alignment Necessary?
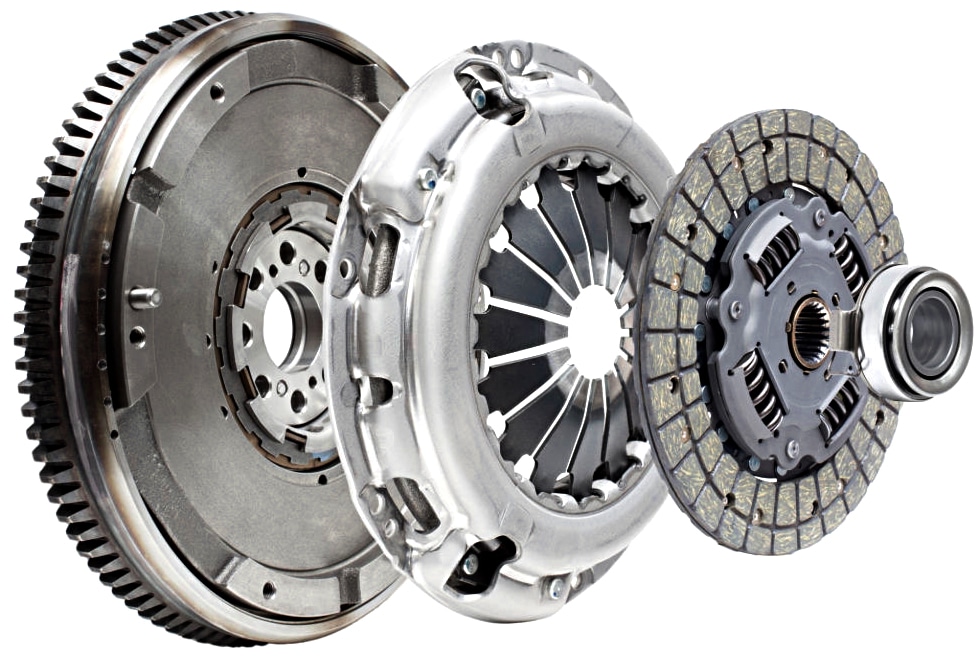
When it comes to drivetrain parts, any form of misalignment will create an array of problems. When installing a new clutch, misalignment can commonly occur between:
- Spigot bearing and friction plate
- Pressure plate and crankshaft
- Transmission and engine
Though a clutch installation tool can’t avoid all types of clutch misalignment, it does ensure that the three types of misalignment mentioned above do not occur.
Clutch or gearbox misalignment can cause serious damage to the transmission components, resulting in premature and recurring clutch failures.
Expect clutch shudder, excessive vibration, severe diaphragm finger wear, premature release bearing failure, and severe damage to the transmission input shaft sleeve.
Misalignment can also be caused by:
- Damaged or missing dowels pins,
- Bell housing distortion cracking,
- Welding repairs to a damaged bell housing,
- Fitment errors like trapping a wire between the engine and gearbox,
- Distortion of sheet metal and cover plate on the rear engine flange.
How to Use a Clutch Alignment Tool
Clutch alignment tools come in various different shapes and sizes. Some of them come with multiple, differently sized dowels which is convenient. You need to make sure that you find a dowel that fits your friction plate and your spigot bearing.
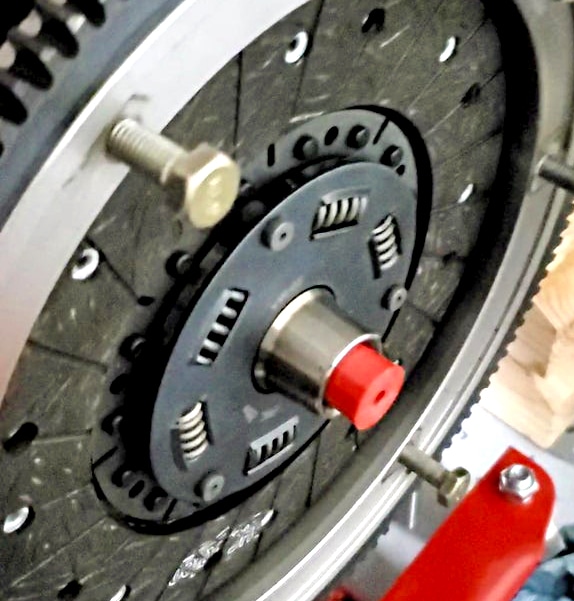
To ensure perfect fitment, you need to consider the spline count on your input shaft because if the splines don’t line up, your clutch won’t be aligned correctly.
Start by choosing the right dowel size. Find one that fits your friction plate and one that fits your spigot bearing. Remember, it needs to be a snug fit. If it has a bit of play, don’t be afraid to shim it with a bit of electrical tape.
Another thing to remember is that clutch friction plates are directional. This means that you can fit them the wrong way — something to be avoided. Most friction plates have some sort of printed mark that indicates the right direction.
Now all you need to do is to get the orientation of the friction plate right and insert the alignment tool into the center of the friction plate using the right dowel size.
Then, with the friction plate fitted to the alignment tool, drive the alignment tool into the spigot bearing. Now that the friction plate is secured in place, you can go ahead and install the pressure plate.
Make sure you torque it down in a criss-cross pattern. Avoid using air tools for this because you don’t want to be breathing in the old clutch dust. A manual torque wrench will work just fine.
Once the pressure plate is in place, simply remove the alignment tool and you’re all set. Now the gearbox should fit in perfectly.

This will ensure that every piece in the clutch assembly lines up before you even place it onto the flywheel.
The Best Clutch Alignment Tools You Can Buy
Clutch alignment tools are only required at the time of clutch installation and help to minimize a lot of the guesswork involved in aligning the friction plate by hand.
These are typically constructed with injection-molded plastic and are easy to manufacture. That’s what makes them cheap and easy to source. In fact, most aftermarket clutch kits include complimentary alignment tools.
However, you do also get stainless steel and CNC machined aluminum options.
Individual Clutch Tools

When choosing a clutch alignment tool, the most important thing is to match the spline count of the tool with that of your input shaft.
If you want to work on one car only, and you know exactly what size you need, consider purchasing a single tool to avoid cluttering your mechanic’s tool set.
Some of our favorite options include:
- Allstar 10 Spline
- Allstar 26 Spline
- Ram Clutches 03-013
- Keyser Steel 26 Spline
- Centerforce 53026
- Centerforce 50090
- Dorman 14523
- Dorman 14522
- Dorman 14504
- Dorman 14507
- Dorman 14501
Clutch Alignment Tool Set
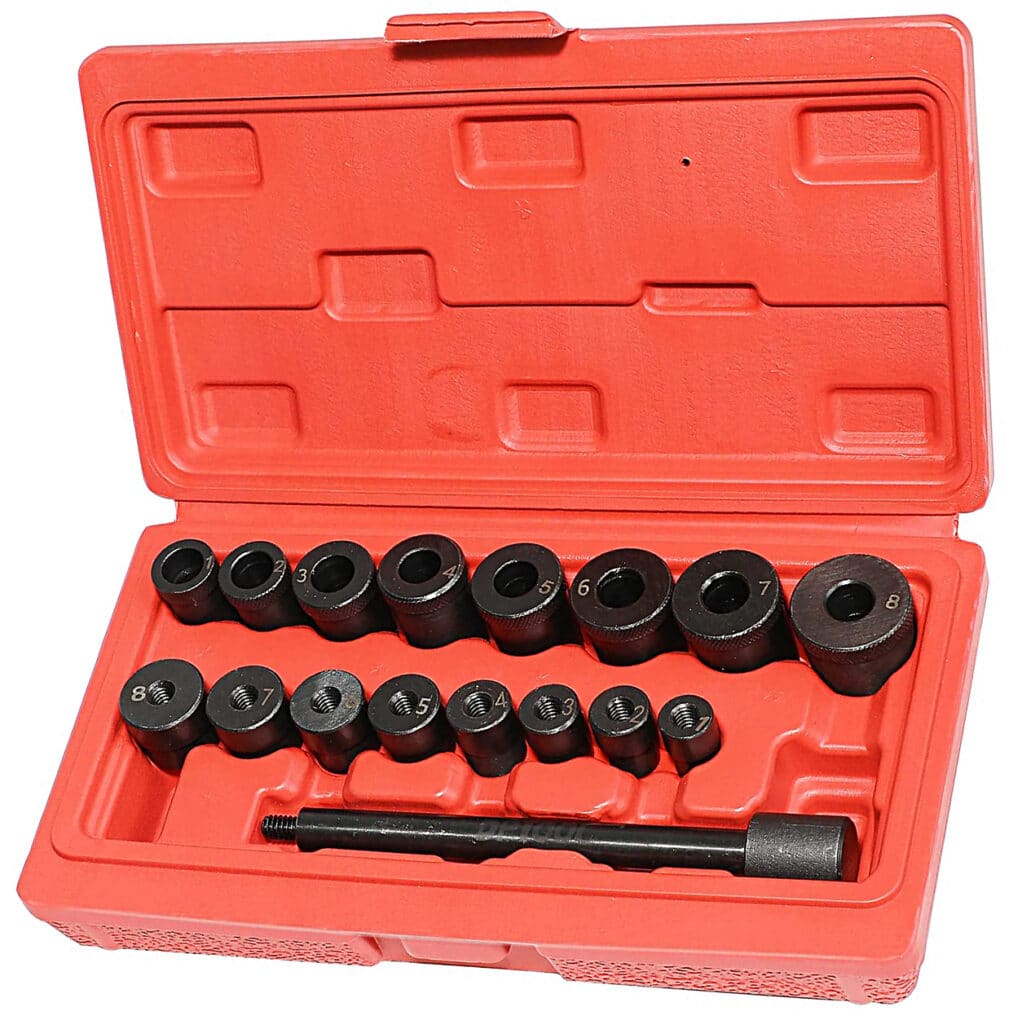
If you work on multiple cars or run a garage, it makes more sense to purchase a proper alignment tool kit that comes with multiple, differently sized dowels.
Even then it is recommended that you carefully examine the size range and make sure that it will fit the cars you intend to work on.
Universal Clutch Alignment Tool

Want something that’ll work on almost every car? Consider looking into universal clutch alignment tools. These aren’t size-specific, so you can’t really purchase the wrong one.
So if you want just one clutch alignment tool that can do it all, consider the following.
Final Thoughts
If you’re new to wrenching, be sure to follow basic safety protocol like always using floor jacks along with jack stands to raise your car.
Remember that accidentally breathing in clutch dust is really bad for you. Before you remove your old clutch, spray it down with some water to lower the chances of the dust particles blowing into your face.
Be sure to smooth out and wipe down the flywheel gasket surfaces, crankshaft surface, and your pressure plate (because it comes with Cosmoline grease applied from the factory). We recommend using brake cleaner instead of degreaser for these applications.
What do you think of clutch alignment tools? Are they necessary? Let us know in the comments below!
